How to Change a Kitchen Tap
Changing a kitchen tap may seem like a daunting task, but with the right tools and a little know-how, you can easily do it yourself. Whether you want to upgrade your old tap or simply replace a faulty one, this guide will walk you through the process step by step.
Before you begin, make sure to turn off the water supply to the kitchen sink. This can usually be done by closing the isolation valves located under the sink. Once the water is turned off, you can proceed with the following steps:
- Remove the old tap: Start by disconnecting the supply lines from the tap using an adjustable wrench. Then, loosen the nuts securing the tap to the sink using a basin wrench. Once the nuts are removed, you can lift the old tap out of the sink.
- Prepare the new tap: Before installing the new tap, check the manufacturer’s instructions for any specific requirements. Make sure you have all the necessary components, such as washers and O-rings. It’s also a good idea to clean the area where the tap will be installed.
- Install the new tap: Place the new tap in the sink and align it with the mounting holes. From underneath the sink, secure the tap in place using the mounting nuts provided. Make sure not to overtighten them, as this can damage the sink.
- Connect the supply lines: Reconnect the supply lines to the new tap, ensuring they are tightened securely. Turn on the water supply and check for any leaks. If you notice any leaks, tighten the connections further.
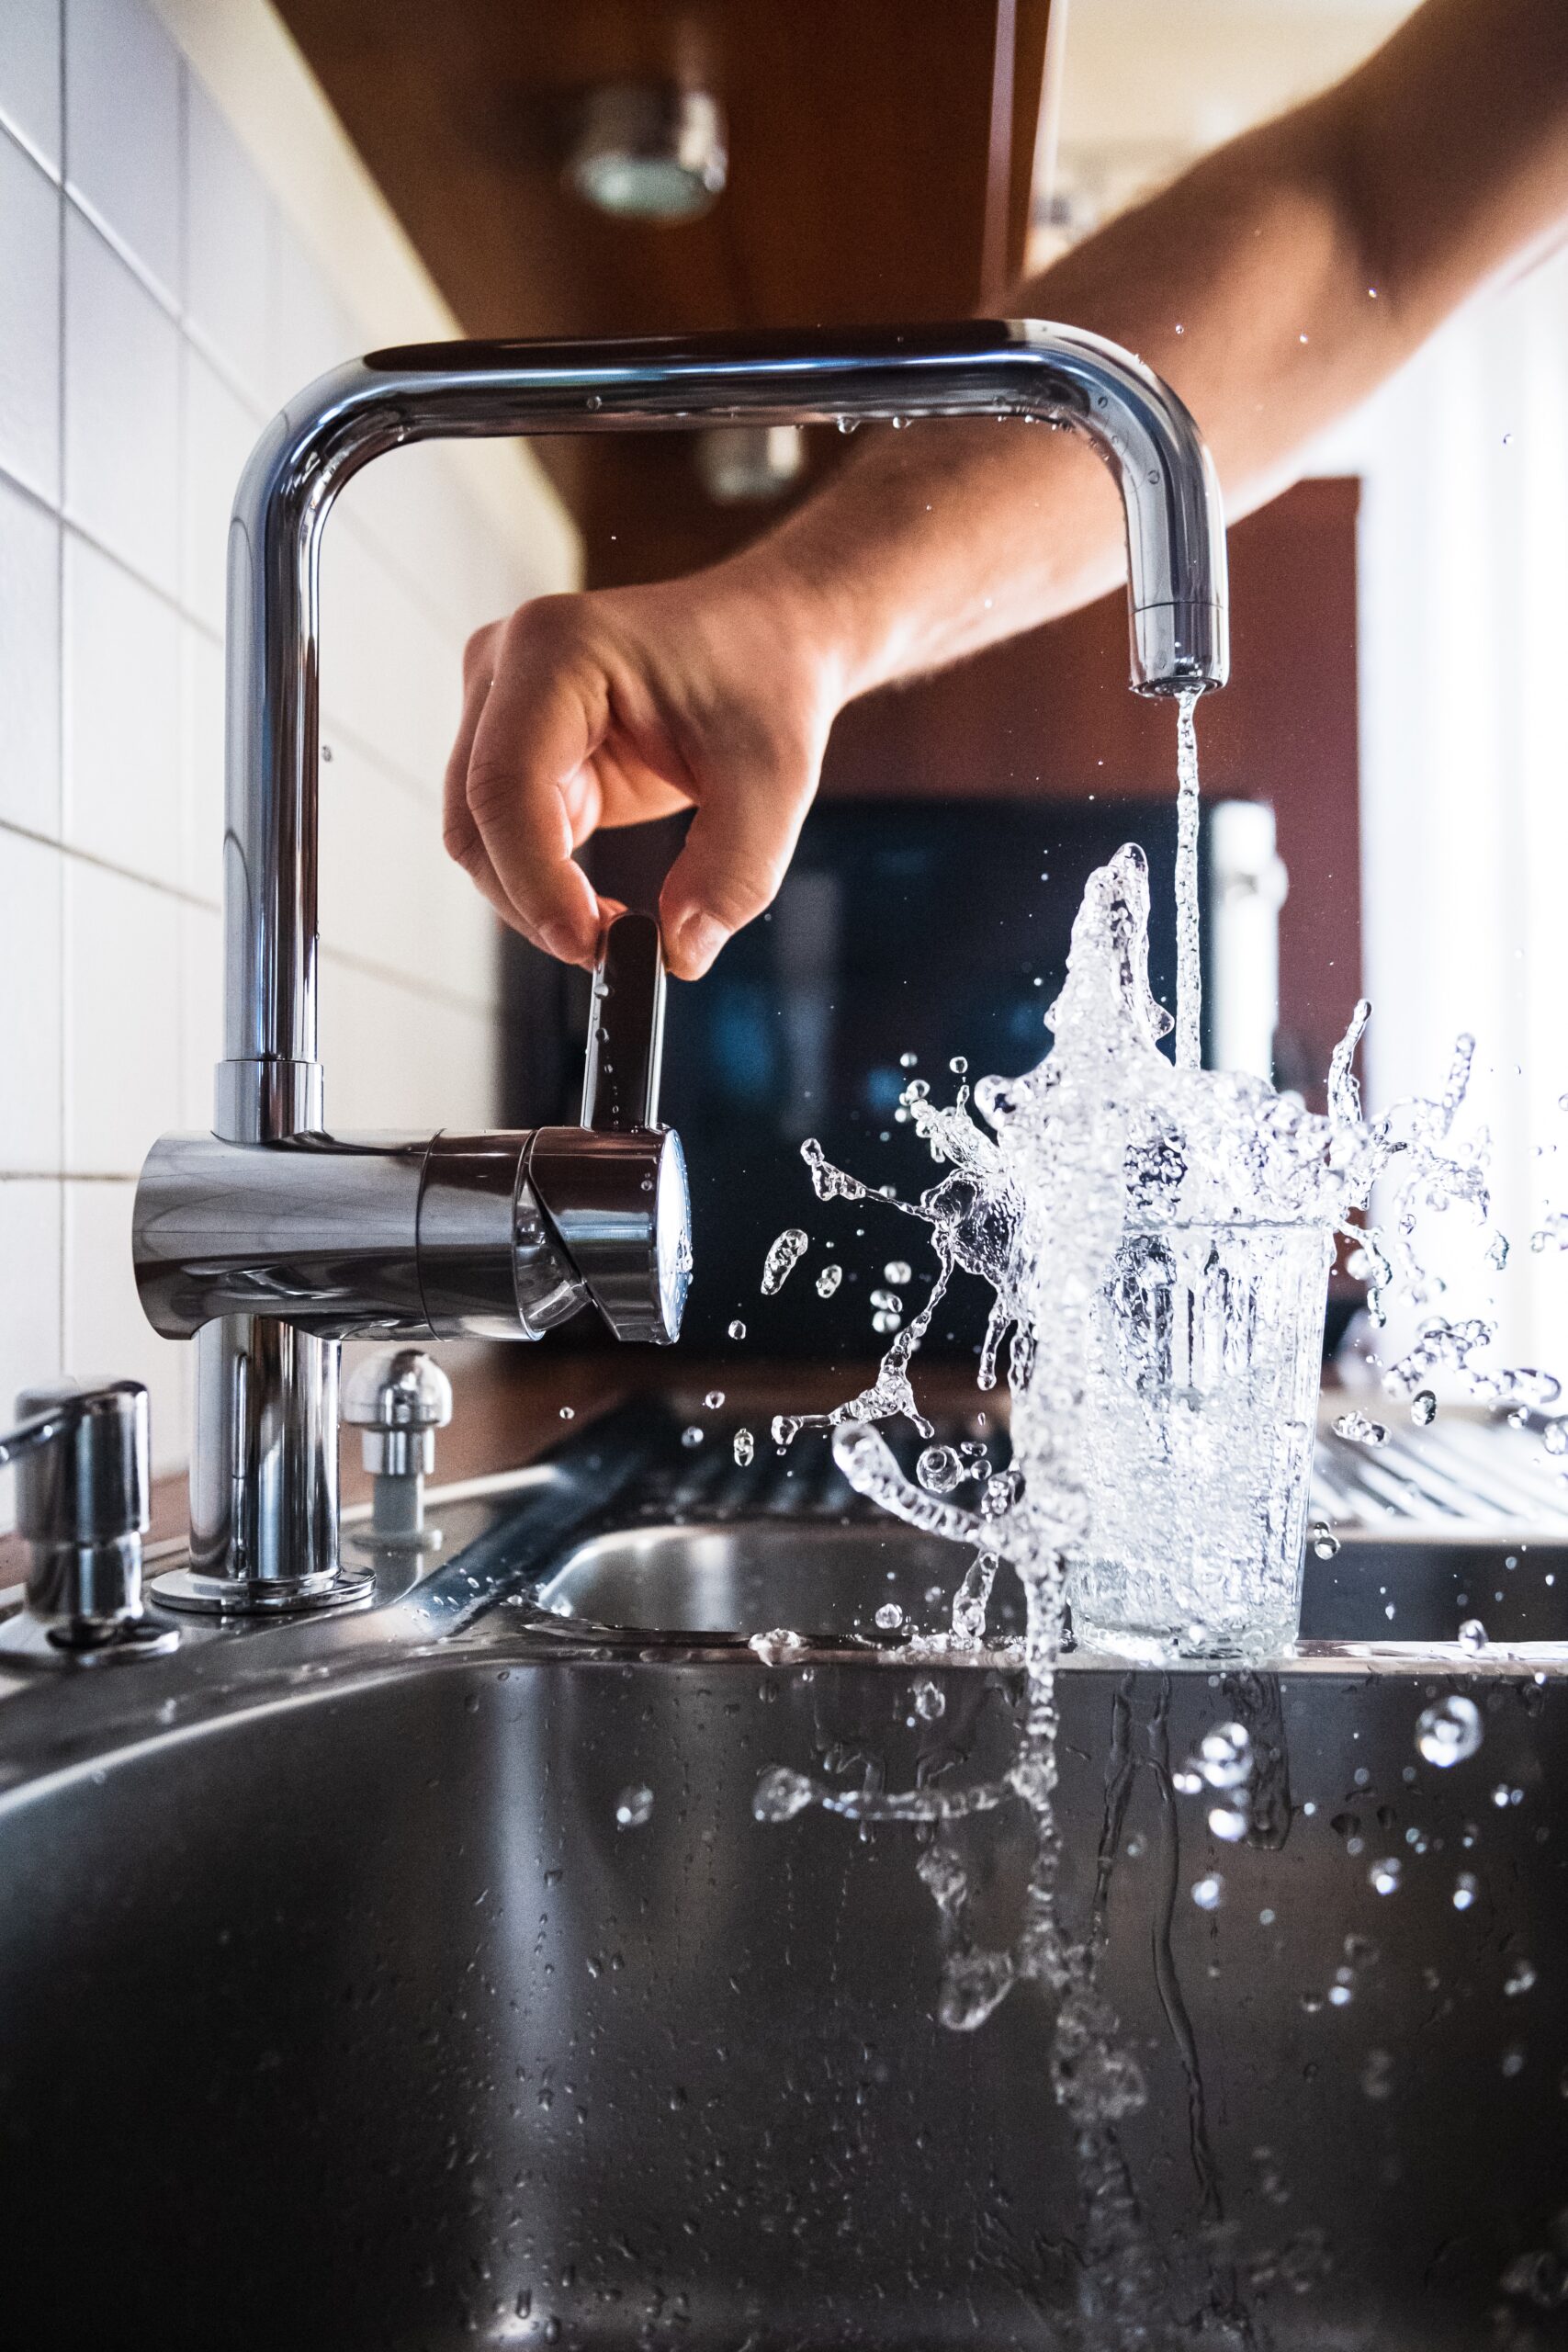
- Test the tap: Finally, turn on the tap to check if it is working properly. Run both hot and cold water to ensure there are no issues. If everything is functioning correctly, you have successfully changed your kitchen tap!
Changing a kitchen tap can be a DIY project that saves you money and gives your kitchen a fresh update. Just remember to follow the steps carefully and take your time. If you are unsure about any part of the process, it’s always best to consult a professional plumber.